Using PYUSD for Cross-Border Payments
May 13, 2025
11 min read

Traditional cross-border payments are often costly and time-consuming. Whether used for B2B payments, global remittances, or paying contractors, cross-border transactions can take days to settle, passing through multiple correspondent banks and incurring high fees.
But stablecoins such as PayPal USD (PYUSD) can be used to aid this process. They offer a fast, low-cost, and transparent alternative. Built on blockchain, PYUSD enables direct, low-cost global payments with near-instant settlement. And since PYUSD is the PayPal stablecoin, it comes with the experience of being a global leader in payments.
Let’s look at the advantages of using PYUSD for cross-border payments, some of the top use cases for PYUSD, and then walk through a tutorial on how you can enable cross-border payments in your apps.
Advantages of using stablecoins like PYUSD for cross-border payments
- Fast Settlements: PYUSD transactions are almost always confirmed in just seconds, eliminating the need for multi-day bank processing.
- Low Costs: Low fees needed to execute the transaction on the blockchain.
- Extensive Reach: PYUSD can be sent to compatible wallets nearly anywhere around the world.
- No Intermediaries: Since PYUSD operates on a decentralized blockchain, payments involve fewer parties to complete, reducing possible friction and delays.
- Stable Value: PYUSD maintains a consistent value of $1 USD per token, ensuring reliable transactions. PYUSD is redeemable 1:1 with the US dollar and backed 1:1 by cash and cash equivalents.
And since PYUSD is available on multiple leading blockchains, decentralized finance (DeFi) protocols, and crypto exchanges, integrating PYUSD payments into your existing infrastructures is straightforward for both decentralized applications and traditional websites.
Use cases for PYUSD in cross-border payments
PYUSD can be used for:
- B2B Payments – Businesses can pay suppliers and service providers 24/7 and nearly instantly, avoiding potentially high bank wire fees and slow settlements.
- Direct Wallet/P2P Transfers – Individuals can send and receive PYUSD directly between eligible wallets/accounts. Users can send money overseas at near-zero cost, with recipients avoiding local currency depreciation.
- Payouts – Global businesses can pay freelancers directly in PYUSD, eliminating volatile currency conversions and exchanges.
Let’s now look at PYUSD in action and just how easy it is to integrate PYUSD into your applications. We’ll look at three examples: using the PayPal wallet, using JavaScript to interact with a user’s web3 wallet, and deploying your own Ethereum smart contract to handle a wide range of use cases.
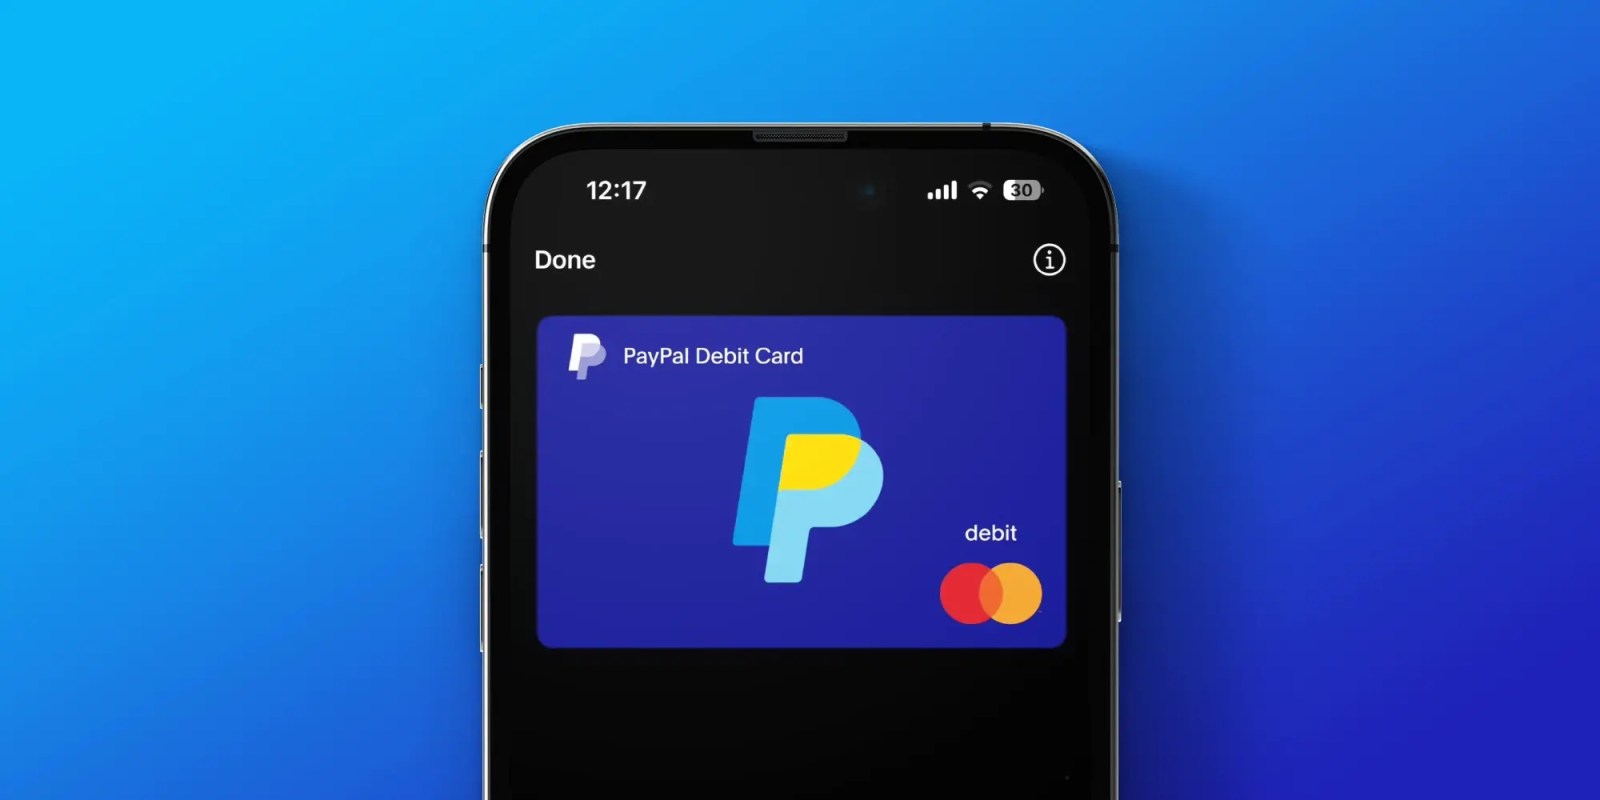
Accepting PYUSD using PayPal
It’s easy to use the PayPal wallet to accept PYUSD.
Wherever your app needs payments, your users can check out with PYUSD using the PayPal interface they already know and are familiar with. The PYUSD is then converted to fiat and settled with the recipient (yourself/ your business), hence allowing for convenient value exchange.

Pay with PayPal and PYUSD
Screen images are for illustrative purposes only.
Accepting PYUSD with web3
Since PYUSD is also openly available and programmable, you can use it natively on blockchain and even build your own PYUSD-based services and products. This gives you a permissionless and decentralized global network tied into millions of crypto users and a fully backed digital currency.
PYUSD JavaScript example
For our first web3 example, let’s see how straightforward it is to embed PYUSD as a payment method into your web2 applications using JavaScript.
- Connect to the user’s web3 wallet (for example, MetaMask)
- Create your request (for this example, the amount of PYUSD to send)
- Send the request as a transaction to the user’s web3 wallet which will then submit the transaction to the blockchain
In this flow, the user will be asked to approve the transaction.
Once it’s approved, the PYUSD is transferred near-instantly from the user’s wallet to your merchant wallet.
This flow can be easily programmed with the ethers.js library and a few lines of code. We won’t look at all the code needed for a working app—just the key lines that interact with web3 components.
1. Ask for permission to connect to the user’s wallet, then connect as follows:
await window.ethereum.request({ method: 'eth_requestAccounts' }); provider = new ethers.providers.Web3Provider(window.ethereum);
2. Get the amount of PYUSD to send. Remember to ensure the right number of decimals (which you get from the PYUSD smart contract), and make sure to convert to the smallest unit possible: wei (smart contracts expect integers).
const amount = document.getElementById('amount').value; const decimals = await pyusdContract.decimals();
const amountWei = ethers.utils.parseUnits(amount, decimals);
3. Send the request as a transaction and wait for response:
const tx = await pyusdContract.transfer(
Paying with JavaScript and PYUSD
Of course, your code will be more complete for production. You’ll need to connect to the right network (testnet or mainnet), check to see if a wallet is installed, check the balance in the user’s wallet, add in error handling, etc.
For more detailed tutorials on using JavaScript in your web3 apps, please see the Ethers.js guides.
Also, keep in mind that when building and testing, it’s recommended that you use the Ethereum test network, Sepolia, where tokens have no value and can be easily used in testing. You can use a faucet to get the free Sepolia testnet ETH and PYUSD you’ll need to test.
Accepting PYUSD with an Ethereum smart contract
For even more flexibility, you can integrate with PYSUD on-chain, creating your own on-chain services and products, by writing and deploying a smart contract that handles and distributes payments.
For example, you might want payments to be distributed to multiple parties automatically, or you might want to tie into a subscription-based program. All of this is relatively easy with PYUSD and a little blockchain knowledge. If you’re new to web3, you should start with a basic overview of Ethereum and blockchain concepts.
For our example, we’ll use a simple Buy Me a Coffee type of smart contract where anyone, anywhere in the world can donate PYUSD to the owner of the contract.
While PYUSD is available on multiple leading blockchain networks, our example will focus on Ethereum—one of the most popular and well-known blockchains.
This smart contract allows anyone in the world to donate PYUSD to the contract owner. It also allows the owner to withdraw the PYUSD into another wallet.
The contract is deployed and runs on the Ethereum blockchain. This allows anyone in the world to call the contract without permissions and guarantees that the code is immutable. The contract is written in Solidity.
// SPDX-License-Identifier: MIT
pragma solidity 0.8.29;
import "@openzeppelin/contracts/token/ERC20/IERC20.sol";
import "@openzeppelin/contracts/access/Ownable.sol";
contract PYUSDReceiver is Ownable {// The PYUSD token contract
IERC20 public pyusd;
// Events
event Received(address indexed sender, uint256 amount);
event Withdrawn(address indexed recipient, uint256 amount);
// Constructor that connects to the PYUSD contract
constructor(address _pyusdAddress) Ownable(msg.sender) {require(_pyusdAddress != address(0), "Invalid PYUSD address");
pyusd = IERC20(_pyusdAddress);
}
// Function that allows anyone to donate PYUSD
function donate(uint256 _amount) external {require(_amount > 0, "Amount must be greater than 0");
// Transfer tokens from sender to this contract
pyusd.transferFrom(msg.sender, address(this), _amount);
emit Received(msg.sender, _amount);
}
// Function that allows owner to withdraw balance
function withdrawAll() external onlyOwner {uint256 balance = pyusd.balanceOf(address(this));
require(balance > 0, "No balance to withdraw");
// Transfer all tokens from this contract to the owner
pyusd.transfer(msg.sender, balance);
emit Withdrawn(msg.sender, balance);
}
}
If you’re new to web3, you don’t need to understand all this code yet. Let’s just look at the key parts that allow us to interact with PYUSD.
- First, the PYUSD token contract, like every other fungible token on Ethereum, implements the ERC-20 standard. Therefore, you can use the ERC-20 interface made available by the open source library OpenZeppelin and communicate with the PYUSD contract using its token address. This is exactly what happens in the constructor of this contract (the function that runs when this contract is deployed). The constructor also sets the owner of the contract to the address deploying the contract (you).
- Because the Ethereum blockchain is public, anyone in the world can call the donate function and deposit any amount of PYUSD into our contract. When this is done, the contract emits a received event. You would typically create a frontend that listens for and acts on this event.
- Only the owner of the contract is able to call the withdrawAll function and extract all the PYUSD donated into the owner’s wallet. It should be obvious why this functionality is only available to the owner; you do not want anyone else to have access to your funds.
As with donating, withdrawing also emits an event that you can listen for off-chain.
You also need a frontend to interact with your contract and send the PYUSD.
We won’t show a complete app in this example, but let’s again look at the key components. We’ll use a simple React SPA that allows users to connect their crypto wallet and send donations.
// ABI for the PYUSD token (minimal ERC-20 interface)
const erc20Abi = [
"function balanceOf(address owner) view returns (uint256)",
"function approve(address spender, uint256 amount) returns (bool)"
];
// ABI for our PYUSDReceiver contracts
const receiverAbi = [
"function donate(uint256 _amount)"
];
// Contract addresses - replace with your actual deployed addresses
const PYUSD_ADDRESS = "<PYUSD CONTRACT ADDRESS>";
const CONTRACT_ADDRESS = "<COFFEE CONTRACT ADDRESS>";
function App() {…
// Connect wallet function
const connectWallet = async () => { if (!window.ethereum) { setStatus('Please install MetaMask to use this app');return;
}
setIsConnecting(true);
try { const accounts = await window.ethereum.request({ method: 'eth_requestAccounts' });setAccount(accounts[0]);
await fetchBalance(accounts[0]);
setStatus('Wallet connected'); } catch (error) { console.error('Error connecting wallet:', error); setStatus('Failed to connect wallet'); } finally {setIsConnecting(false);
}
};
// Handle donation
const handleDonate = async () => { if (!account || !amount || parseFloat(amount) <= 0) { setStatus('Please enter a valid amount');return;
}
setIsDepositing(true);
setStatus('Processing donation...');
try {const provider = new ethers.BrowserProvider(window.ethereum);
const signer = await provider.getSigner();
// Convert amount to wei (considering 6 decimals for PYUSD)
const amountInSmallestUnit = ethers.parseUnits(amount, 6);
// First approve the contract to spend tokens
const pyusdContract = new ethers.Contract(PYUSD_ADDRESS, erc20Abi, signer);
const approveTx = await pyusdContract.approve(CONTRACT_ADDRESS, amountInSmallestUnit);
await approveTx.wait();
// Then make the deposit
const receiverContract = new ethers.Contract(CONTRACT_ADDRESS, receiverAbi, signer);
const depositTx = await receiverContract.donate(amountInSmallestUnit);
await depositTx.wait();
// Clear form and update balance
setAmount('');await fetchBalance(account);
setStatus('Donation complete!'); } catch (error) { console.error('Error donating:', error); setStatus('Donation failed'); } finally {setIsDepositing(false);
}
};
- You define the Contract ABIs for both PYUSD and the Coffee contract. The ABI defines the functions and structures available in a smart contract. This way, Ethers (the JS library for interacting with the Ethereum network) is aware of the functions you’re going to call.
- The next set of code handles the connection of our crypto wallet to your app. Think of this connection as the web3 equivalent of authentication. But in web3, once you connect your wallet, you can also authorize sending funds to this app (and by extension, your contract).
- The handleDonate function contains your core logic. It initiates a wallet transaction to transfer the PYUSD (using our smart contract) being donated.
This contract and frontend give you a simple screen that could look something like this:

Frontend donating PYUSD

User approving the transaction
Clicking the Donate button initiates a wallet transaction to send PYUSD using the smart contract.
Cross-border payments with PYUSD
PYUSD and blockchain create a modern payments infrastructure that is near-instant, low-cost, and available nearly anywhere. No matter your implementation, it’s straightforward to bring PYUSD and the power of a decentralized, permissionless network into your apps.
For more examples on building with PYUSD, see our PYUSD resource center for developers.
Keep up with PYUSD here!
Issuance of and custody of PayPal USD is performed by Paxos Trust Company, LLC. Learn more in PayPal's Cryptocurrency Terms, and in the Paxos US Dollar-backed Stablecoin Terms and Conditions. PayPal, Inc. is licensed to engage in virtual currency business activity by the New York State Department of Financial Services.
Recommended
Managing Recurring Payments with Apple Pay Using PayPal
4 min read

Why You Should Attend PayPal’s Developer Meetup at Money20/20
4 min read

Building a Customizable Messaging Platform
10 min read