
Client-side Integration
Step 1: Initialize the Braintree SDK
- Load the necessary Braintree SDK modules.
- Ensure all modules are the same version (3.120.0 or greater).
- HTML
<script src="https://js.braintreegateway.com/web/3.138.0/js/client.min.js"></script>
<script src="https://js.braintreegateway.com/web/3.138.0/js/fastlane.js"></script>
<script src="https://js.braintreegateway.com/web/3.138.0/js/data-collector.min.js"></script>
Step 2: Initialize Fastlane Component
- Create a client instance.
- Create a data collector instance.
- Define custom styling for the Fastlane component (Optional).
- Initialize Fastlane component.
- Define the customer's locale (Optional).
- Define the merchant's accepted card brands (Optional).
- Extract identity, profile and events from the braintree.fastlane.create function response as local variables
- JavaScript
const clientInstance = await braintree.client.create({
  authorization: "<YOUR CLIENT TOKEN>"
});

const dataCollectorInstance = await braintree.dataCollector.create({
  client: clientInstance,
});

const styles = {
  //specify global styles here
  root: {
    backgroundColorPrimary: "#ffffff"
  }
}

const deviceData = dataCollectorInstance.deviceData;

// For all configuration options for the fastlane construct
// please refer to the Reference types section
const fastlane = await braintree.fastlane.create({
  authorization: "<YOUR CLIENT TOKEN>",
  client: clientInstance,
  deviceData: deviceData,
  styles: styles
});

const identity = fastlane.identity;
const profile = fastlane.profile;
const {
    checkoutPageLoaded,
    apmSelected,
    emailSubmitted,
    orderPlaced,
    checkoutEnd,
    storeAccountCreated,
} = fastlane.events;
Step 3: Render Fastlane Watermark
- Add a div for the watermark.
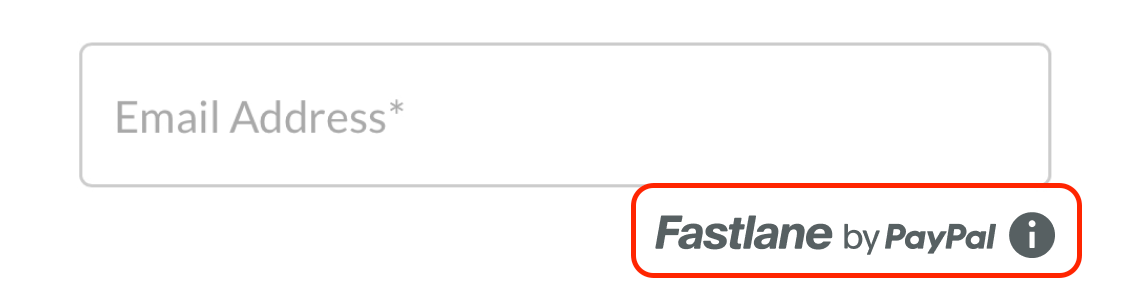
- Display the Fastlane watermark with the email input field.
When sharing the email with Fastlane, certain countries and regulations require you to display the Fastlane watermark to inform consumers about the data sharing.
- HTML
<!-- add a div where the watermark will be rendered -->
<div id="watermark-container">
    <img src="https://www.paypalobjects.com/fastlane-v1/assets/fastlane-with-tooltip_en_sm_light.0808.svg" />
</div>
The image tag within the watermark container div ensures the watermark is rendered immediately.
- JavaScript
const fastlaneWatermark = (await fastlane.FastlaneWatermarkComponent({
    includeAdditionalInfo: //Boolean which determines if the info icon is present
}));
await fastlaneWatermark.render("#watermark-container");
Step 4: Customer Lookup and Authentication
- Lookup the customer by email.
- Trigger authentication flow if the customer is a Fastlane member.
- Retrieve authentication state and profile data.
After collecting the email address, call identity.lookupCustomerByEmail(email) to check if the email is associated with a Fastlane or PayPal member.
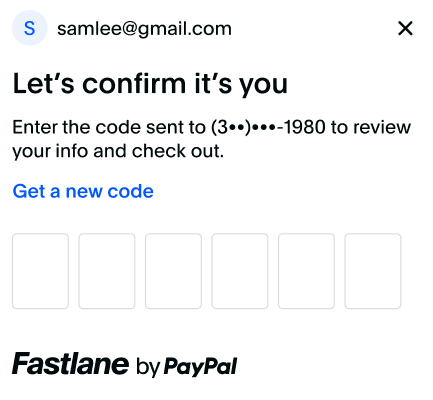
Fastlane members must authenticate themselves before their profile information can be accessed. They will receive an OTP on their registered mobile number or alternate methods to complete the authentication.
In Sandbox, the OTP passcode will always be "111111" or "222222" to successfully authenticate. All other codes will fail authentication.
- JavaScript
const {
    customerContextId
   } = await identity.lookupCustomerByEmail(document.getElementById("email").value);

   var renderFastlaneMemberExperience = false;

   if (customerContextId) {
   // Email is associated with a Fastlane member or a PayPal member,
   // send customerContextId to trigger the authentication flow.
   const {
    authenticationState,
    profileData
   } = await identity.triggerAuthenticationFlow(customerContextId);

   if (authenticationState === "succeeded") {
    // Fastlane member successfully authenticated themselves
    // profileData contains their profile details
    renderFastlaneMemberExperience = true;
    const name = profileData.name;
    const shippingAddress = profileData.shippingAddress;
    const card = profileData.card;
   } else {
    // Member failed or cancelled to authenticate. Treat them as a guest payer
    renderFastlaneMemberExperience = false;
    }
   } else {
   // No profile found with this email address. This is a guest payer
   renderFastlaneMemberExperience = false;
}- Succeeded Authentication: An authenticationState value of succeeded indicates a Fastlane member has authenticated and then you should set renderFastlaneMemberExperience to true.
- Guest User:Any other authenticationState value indicates a Fastlane guest user and you should render the guest experience specified in step 5.
- Profile Data: Fastlane members card details and shipping address are returned with the profileData object contents on successful authentication and the renderFastlaneMemberExperience is set to True.
Step 5: Fastlane Member Experience
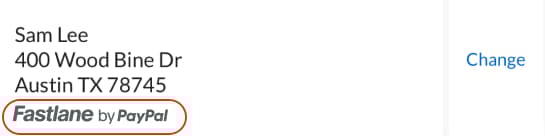
- Render the customer's shipping address.
- Allow the customer to change their shipping address.
When integrating Fastlane by PayPal, keep the following points in mind regarding shipping addresses
- Handle Missing Shipping Addresses: Fastlane members might not have a shipping address in their profile. Ensure your integration can handle this scenario gracefully.
- Send shipping address in server side request.
- Refer to Advanced Guidelines: For more detailed information, refer to the shipping address guidelines in the advanced section.
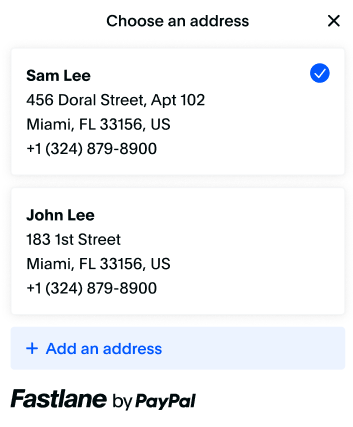
Shipping Address Selector
- JavaScript
if (renderFastlaneMemberExperience) {
    if (profileData.shippingAddress) {
    // render shipping address from the profile

    const changeAddressButton = document.getElementById("your-change-address-button");

    changeAddressButton.addEventListener("click", async () => {
      const {
        selectedAddress,
        selectionChanged
      } = await profile.showShippingAddressSelector();

      if (selectionChanged) {
        // selectedAddress contains the new address
      } else {
        // selection modal was dismissed without selection
      }
    });
    } else {
    // render your shipping address form
    }
    } else {
    // render your shipping address form
    }
Step 5: Fastlane Guest Experience
- Have the customer enter their information manually.
The Fastlane Guest user will proceed through your experience, manually entering their information up to billing address and card details.
Step 6: Render Payment Component
- Set up the payment component
- Set the event to trigger when Fastlane will retrive the payment token, usually the payment submission or confirmation button.
- Define the shipping address object to send as a parameter to the payment component to prefill the customer's billing address as shipping address (Optional).
- Define the styling object to send as a parameter to the payment component (Optional)
- Define the fields object to prefill available fields within the Payment component (Optional)
- Render the Payment component
- When the event to trigger the Fastlane token occurs, call fastlanePaymentComponent.getPaymentToken() to retrieve the payment token.
- For guests, the component collects all necessary information to generate a Fastlane payment token.
- For members, it securely displays their primary payment method and allows them to switch to another saved card — all in a PCI-compliant experience.
Setup Payment component and set trigger for Fastlane token generation:
- HTML
<!-- Div container for the Payment Component -->
  <div id="payment-container"></div>
  <!-- Submit Button -->
  <button id="submit-button">Submit Order</button>
Define shipping and prefill objects and render the Payment component:
- JavaScript
const shippingAddress = {
   firstName: "Jen",
    lastName: "Smith",
    company: "Braintree",
    streetAddress: "1 E 1st St",
    extendedAddress: "5th Floor",
    locality: "Bartlett",
    region: "IL", //must be sent in 2-letter format
    postalCode: "60103",
    countryCodeAlpha2: "US",
    phoneNumber: "14155551212"
    }

    const options = {
    fields: {
    phoneNumber: {
      // Example of how to prefill the phone number field in the FastlanePaymentComponent
      prefill: "4026607986"
    }
    },
    styles: {
    root: {   //specify styles here
      backgroundColorPrimary: "#ffffff"
    }
      }
    };

    const fastlanePaymentComponent = await fastlane.FastlanePaymentComponent({
    options,
    shippingAddress
      });
      await fastlanePaymentComponent.render("#payment-container");

      // event listener when the user clicks to place the order
    const submitButton = document.getElementById("submit-button");
    submitButton.addEventListener("click", async ()=> {
    const { id } = await fastlanePaymentComponent.getPaymentToken();

      // Send the paymentToken and previously captured device data to server
      // to complete checkout
});Next step: Server-side Integration