Enable Pay Later messaging for Angell EYE on WooCommerce
Last updated: May 21st, 9:09am
Promote PayPal Pay Later offers using messaging and buttons on your Angell EYE on WooCommerce store.
PayPal offers short-term, interest-free payments and other special financing options that buyers can use to buy now and pay later. You get paid up-front, and there are no additional costs.
Pay Later messaging includes Pay in 4, which Australian buyers can use to pay for purchases of $1 to $1,999.99 in four, interest-free payments.
Know before you begin
- Before you begin, learn more about Pay Later offers.
- Before you enable Pay Later messaging, install the WooCommerce plugin and enable PayPal Checkout.
- You are eligible to promote PayPal Pay in 4 if you are a PayPal merchant with an Australian-facing website and after making a one-time payment integration. Reference Transactions or Recurring Payment integrations are not eligible, as well as certain merchant categories (such as gambling or foreign exchange).
- Please note that while this option provides messaging that can be displayed on your website to help promote this feature to your customers, no additional content, wording, marketing, or other materials should be created by you to encourage use of this product.
Note: Ensure that the Angell EYE plugin is at least on version 2.5.2 to enable Pay Later messaging.
How it works
These are sample checkout pages with Pay Later messaging and button enabled for webpages and mobile devices.
Pay Later messaging and button on a webpage

Pay Later messaging and button on a mobile device

Enable and customize the messaging and button
To enable the Pay Later messaging and button, complete the following:
- Log in to your WooCommerce admin portal.
- Select WooCommerce > Settings > Payments.
- For PayPal Express Checkout, select Manage.
The PayPal Express Checkout settings page opens.
(Optional) Enable Smart Payment Buttons
The PayPal Smart Payment Buttons is enabled by default. If the button is not enabled, select the Smart Payment Buttons check box.
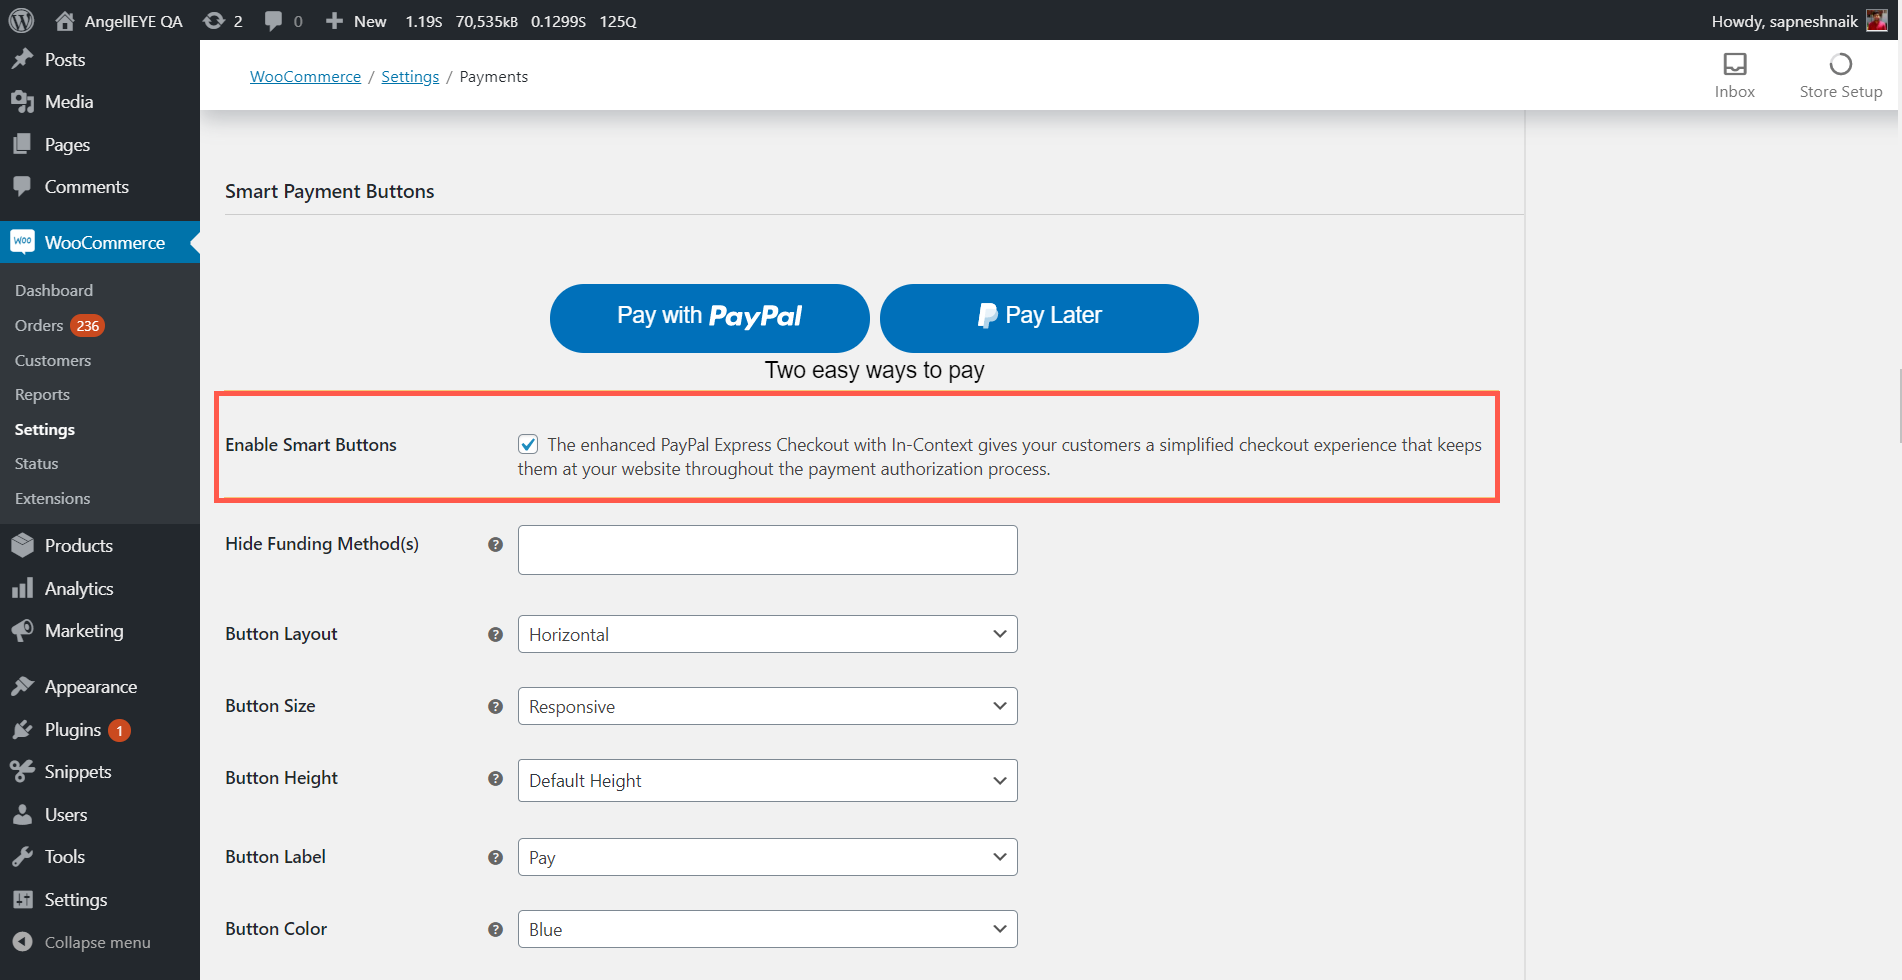
(Optional) Enable the Pay in 4 button
- The Pay in 4 button is enabled by default. If the button is not enabled, select the Enable Smart Payment Button check box.
- Customize the Pay in 4 button by using the drop down lists, such as Button Layout and Button Size.
Note: For Hide Funding Method(s), leave the field blank to prevent hiding the Pay in 4 button.
Enable Pay Later messaging
- Enable Pay Later messaging by navigating to PayPal Credit Messaging section, and selecting the Enable PayPal Pay Later Messaging - Buy Now Pay Later check box. Versions older than 2.4.6 will display PayPal Credit Messaging - Buy Now Pay Later.

- For Page Type, choose the pages on which you want to display Pay Later messages.
Each page that you enable displays additional customization options for the messaging.
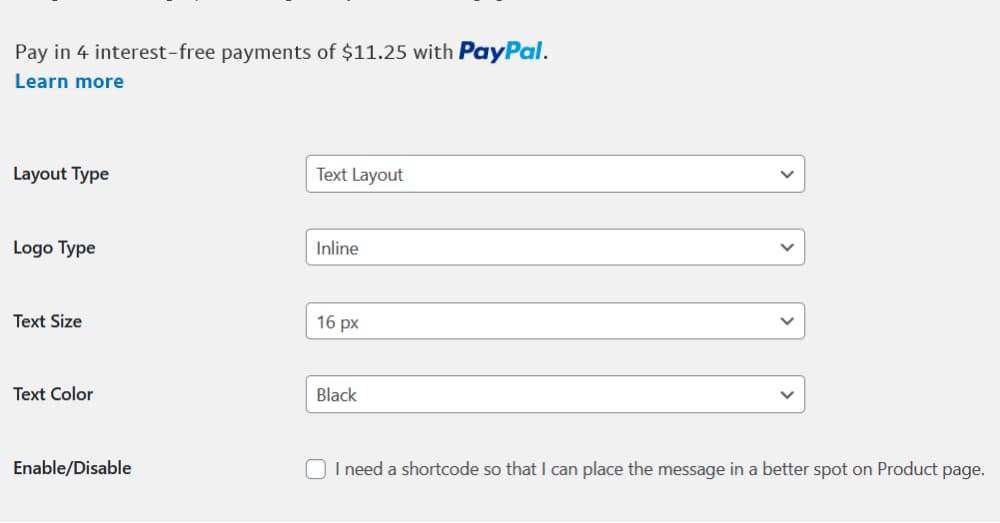
Customize the style and layout of messaging
You can customize the look and feel of your messaging by configuring the Flex layout (displays the messaging as a banner) and Text layout (displays the messaging as text on the screen).
From the dropdown lists, customize the messaging layout by changing the layout, logo, position, and text color.
Step result
You have enabled the Pay Later messaging and button with the Angell EYE plugin on your WooCommerce store.
See also
See the Angell EYE documentation page.