Customize the Pay Later messaging layout on CubeCart
Last updated: Nov 18th, 8:58pm
Promote PayPal Pay Later offers using messaging on your CubeCart store.
PayPal offers short-term, interest-free payments and other special financing options that buyers can use to buy now and pay later. You get paid upfront at no additional cost unless you are in the US.
Pay Later messaging includes Pay in 4, which eligible US buyers can use to pay for purchases of $30 to $1,500 in four, interest-free payments.
Know before you begin
- Before you begin, learn more about Pay Later offers.
- Pay Later offers are automatically enabled with CubeCart for merchants on the latest version of the PayPal Commerce Platform integration.
- US-based consumers are eligible for Pay Later offers across most of our integrations. As a merchant, you're eligible to promote Pay Later offers if you are based in the US with a US-facing website and a one-time payment integration. Promoting Pay Later offers is not available if you're using vaulted payments or subscriptions.
How it works
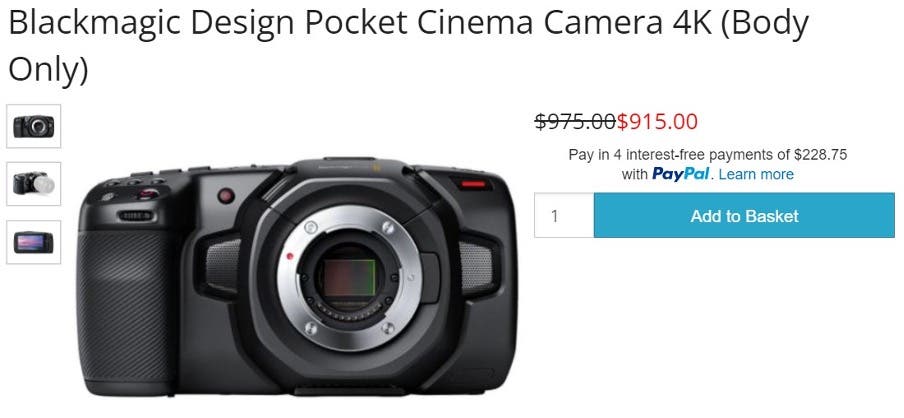
Pay Later messaging on a product detail page

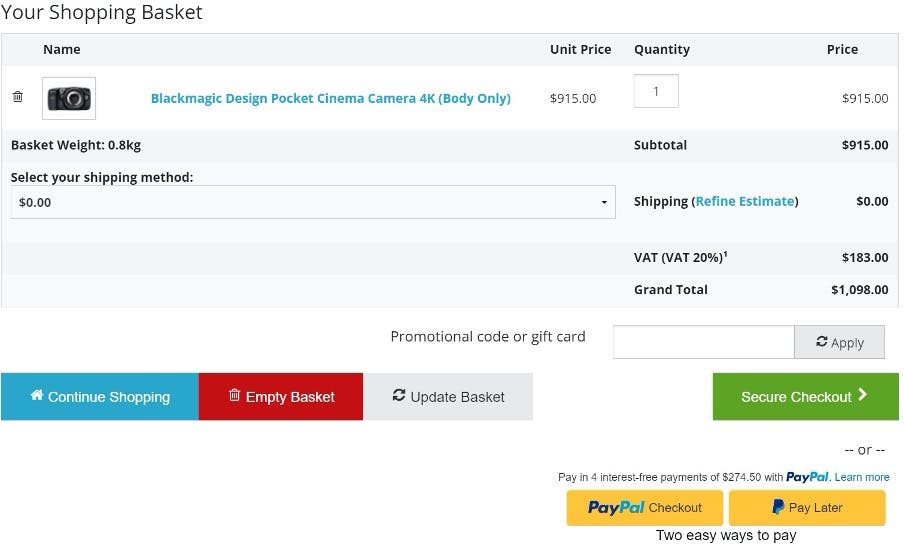
Pay Later messaging at basket

Enable PayPal Commerce Platform
Note: PayPal Commerce requires CubeCart version 6. Please ensure the PayPal plugin is at least 1.5 for Pay Later offers and messaging.
- Find your PayPal Commerce plugin version on the CubeCart extensions page.
- Select the lightning bolt symbol next to your version and copy the Auto Install/Upgrade Token.
- Log in to your CubeCart v6 store admin panel.
- Go to Manage Extensions to enter your token.
How to enable Pay Later if you already are on PayPal Commerce Platform
If you are a merchant already using the PayPal Commerce Platform you may not have Pay Later options or messaging if you are not on the latest version of the extension. We recommend upgrading to the latest version following the steps below. Once at the latest version the Pay Later button and messaging will be active by default.
- Visit https://www.cubecart.com/extensions/plugins/paypal-commerce
- Click the thunderbolt icon next to the latest version.
- Copy the Auto Install/Upgrade Token to your clipboard.
- Login to the admin side of your store and navigate to Manage Extensions.
- Paste your token into the text field at the top of the page and click Go.
- The extension will update automatically and page will reload.
- On the list of installed extensions click on PayPal Commerce Platform to verify your settings.
How to enable Pay Later if you are on an old integration
Upgrading to the PayPal Commerce Platform from older integrations such as PayPal Standard is straightforward.
- Find your PayPal Commerce extension version on the CubeCart extensions page.
- Select the lightning bolt symbol next to your version and copy the Auto Install/Upgrade Token.
- Log in to your CubeCart v6 store admin panel.
- Go to Manage Extensions to enter your token.
- From the list of installed extensions select PayPal Commerce Platform.
- Click the PayPal branded Connect button and follow the instructions.
Once complete your older integrations will be automatically disabled and Pay Later is enabled by default.
Customising the messaging layout & appearance
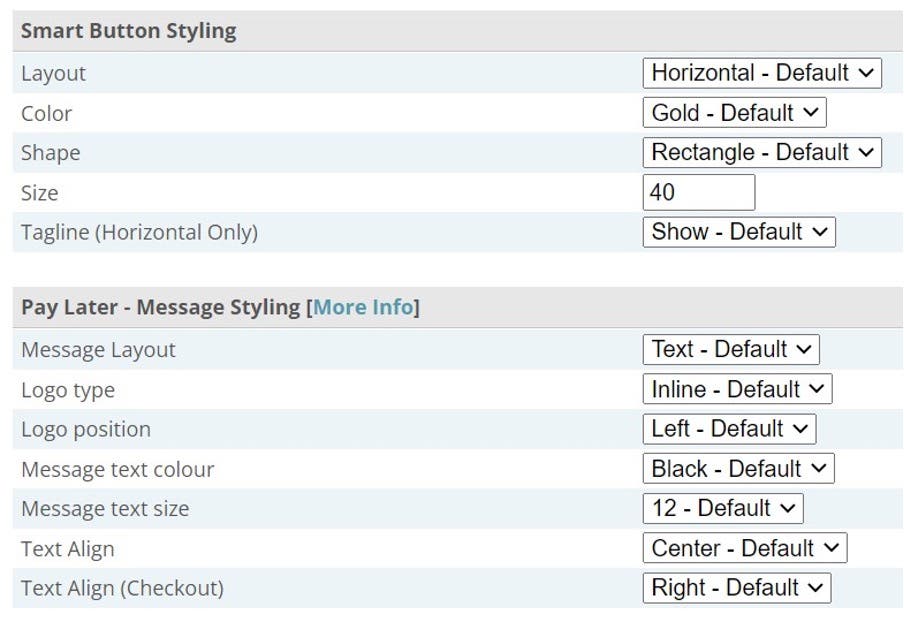
From the PayPal Commerce configuration page in the admin control panel of your store you can:
- Enable or disable the Pay Later button.
- Specify where you do and don’t want messaging to display.
- Configure the messaging style.

To customize the look and feel of the button and text please expand the Advanced Settings section.

Pay Later messaging is assigned to the page by specifying the DOM element it attaches on to. This is defined by the config.foundation.json file. To customize this please rename the file to config.custom.json or replace custom with the folder name of the skin in use. The DOM elements can be edited from within the JSON object.
Test PayPal Commerce Platform in sandbox module
Please ensure the PayPal extension is at least 1.5 for the best Pay Later offers and messaging experience. If not please upgrade following the instructions in the previous section titled Enable PayPal Commerce Platform.
- If in Live Mode, select Disconnect your PayPal account.
- Open the
modules/plugins/paypal_commerce/env.inc.phpfile. Changeconst ENV_SANDBOX = falsetoconst ENV_SANDBOX = true. - Connect your PayPal sandbox account.
- To switch back to live, repeat the first 3 steps and revert to
true. Reconnect to your live account.