Customize the Pay Later messaging layout on Miva
Last updated: Nov 17th, 2:14pm
Promote PayPal Pay Later offers using messaging and buttons on your Miva store.
PayPal offers short-term, interest-free payments and other special financing options that buyers can use to buy now and pay later. You get paid upfront at no additional cost unless you are in the US.
Pay Later messaging include the following Pay Later offers which are available to US customers only:
- Pay in 4 - Eligible US buyers can pay in four interest-free payments for purchases of $30 to $1,500.
- Pay Monthly - Eligible US buyers can pay in 6, 12, or 24 monthly installments for purchases of $199 to $10,000.
Know before you begin
- Before you begin, learn more about Pay Later offers.
- Before you customize Pay Later messaging, install Miva's PayPal Commerce Platform module by completing the Installation section. This initiates the onboarding flow to create or upgrade a PayPal account and grant API permissions to Miva.
- Pay Later messaging is enabled for new merchants. If you're an existing merchant, make sure to enable the messaging.
-
US-based consumers are eligible for Pay Later offers across most of our integrations. As a merchant, you're eligible to promote Pay Later offers if you are based in the US with a US-facing website and a one-time payment integration. Promoting Pay Later offers is not available if you're using vaulted payments or subscriptions.
How it works
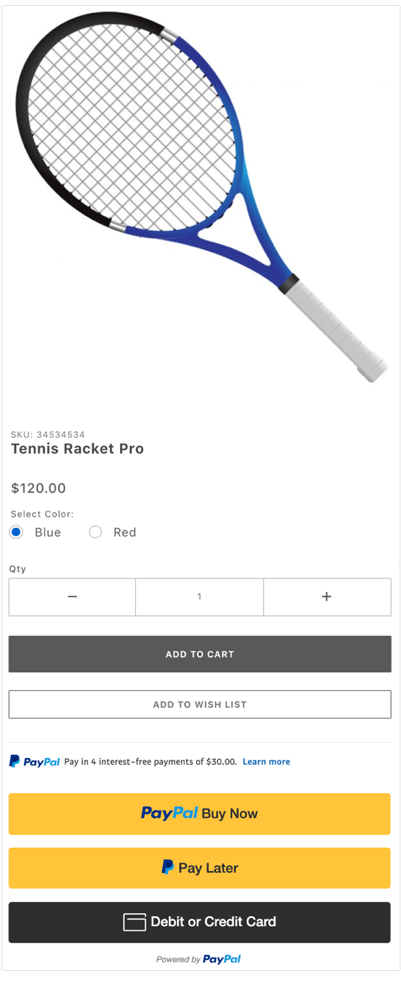
These are sample checkout pages with Pay Later messaging and button enabled for webpages and mobile devices.
Pay Later messaging and button on a webpage

Pay Later messaging and button on a mobile device

Customize the messaging layout
Messaging is enabled by default on product and checkout pages. However, you can customize the messaging layout to fit your business needs. You can also choose to enable or disable the messaging banners.
To customize the messaging, complete the following:
- Log in to your Miva admin portal.
- From the left-hand navigation, select User Interface.
Start customizing the messaging layout on the individual pages. - Select Templates > Items to customize individual pages.
- From the CODE column, find and select paypalcp_credit.
- Select PayPal Commerce Platform.
The Edit Item: paypalcp_credit page opens.
View which pages have the messaging banners enabled. If you're an existing user, make sure to enable these pages.
You can also enable messaging on additional pages or turn them off on existing pages. Selecting one of the pages displays more options to customize the messaging layout. - Select a page. The Edit Page screen displays.
- Find the PayPal Credit Messaging section. This customizes the layout of Pay Later messaging, which includes PayPal Credit.

- Customize the layout of your messaging.
- (Optional) Navigate back to the Items page and enable messaging on another page.
By default, the following pages are enabled for messaging:
| Code | Name |
|---|---|
| BASK | Basket Contents |
| PROD | Product Display |
| OCST | Checkout: Customer Information |
| ORDL | Order: Customer Login |
| OSEL | Checkout: Shipping/Payment Selection |
| SFNT | Storefront |
See also
See the Miva 10 documentation page to learn more about PayPal on Miva.